Hydroponics Robot Part 3 – Mapping Issues Continued
Welcome back to the third part of my series on building a hydroponics robot! In this blog post, I’ll continue discussing the mapping issues I encountered while trying to navigate my robot through narrow passages and plant rows.
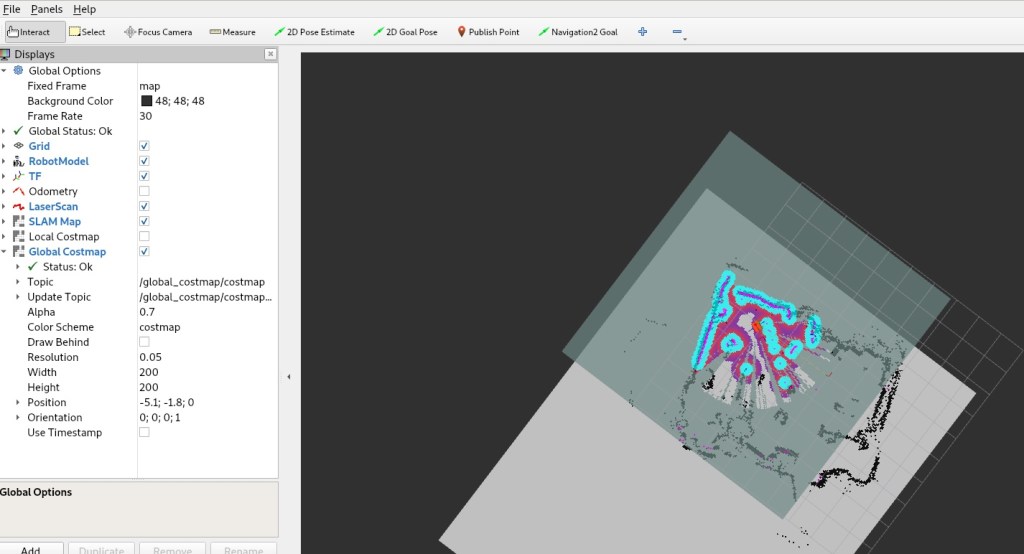
Increasing the global costmap
Previously, I tried increasing the global costmap to see if it would improve my robot’s alignment with the rows when it returned. Unfortunately, this didn’t seem to be enough, and the issue persisted. I suspected that the robot’s slight backward angle could be causing the problem, so I decided to try leveling it and see if it would help.
Leveling the robot
I attempted to level the robot to see if it would improve its alignment with the rows when it returned. If leveling the robot works, I may consider getting a gimble for it. However, since I couldn’t find a gimble on short notice, I ended up hot gluing two pringles can lids to the bottom of the bot as a temporary fix.
Recreating the map
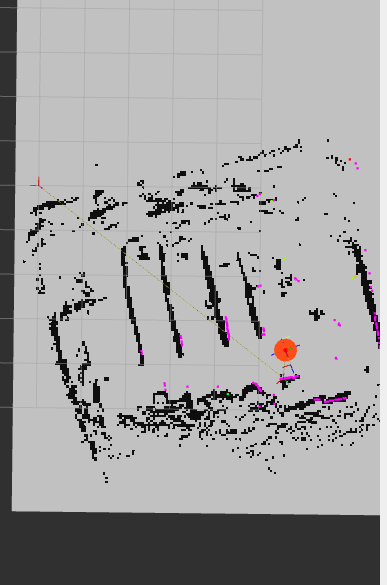
Despite my efforts, I still had trouble with alignment and localization drifting. I suspected that I may need to recreate the map since different parts of the robot were having similar issues now.
Re-configuring the initial pose
I also re-configured the initial pose in nav2 so that I don’t have to keep resetting it. This should save me some time and effort during testing and troubleshooting.
Adjusting the parameters
I spent a lot of time messing around with params, but I was still unable to get the robot to navigate around a post without the localization drifting and getting stuck in a recovery loop. One config that did appear to have been missed was that the behavior global_frame was still set to odom instead of map.
Loads of trial and error, but sigma_hit under in nav2 config under amcl appeared to have significantly reduced drifting.
Repairing the tire tread
During my testing, I noticed that the tread of the tire (pvc end cap with rubber glued to it) was lost, so I needed to repair that before continuing.
Trouble navigating through a narrow passage
The robot was still hitting issues exiting a narrow passage but had no problems entering it. It actually seemed to be having trouble going from the middle of the lane to the other lane when the goal was within local costmap vision. I suspect that PathExpiringTimer may have helped with this, but I could not get it to work (probably set it in the wrong place).
I will consider writing a separate blog post about this issue. In the meantime, there’s more information about PathExpiringTimer in the links below:
- https://navigation.ros.org/configuration/packages/bt-plugins/conditions/PathExpiringTimer.html
- https://github.com/ros-planning/navigation2/pull/2841
- https://github.com/ros-planning/navigation2/pull/2802
And that’s it for this blog post! Despite the mapping issues, I’m still making progress with my hydroponics robot, and I’m excited to continue experimenting and tweaking it to get it just right. Stay tuned for more updates in the next part of this series!